Ductless air conditioner systems, also called mini-splits, are increasingly popular in homes because they’re efficient, quiet, and don’t require ductwork. But like any HVAC system, they demand regular maintenance to keep running smoothly and delivering cool air when you need it most. Neglect a ductless unit, and you’ll face reduced efficiency, higher energy bills, and potentially expensive repairs down the road. The good news? Most maintenance tasks are straightforward and doable without calling a technician every season. A little preventive care goes a long way.
Table of Contents
ToggleKey Takeaways
- Regular ductless air conditioner maintenance improves efficiency by 10-15%, directly lowering cooling costs and preventing expensive compressor repairs.
- Clean or replace air filters monthly for reusable filters and every 1-3 months for disposable filters to maintain proper airflow and system performance.
- Flush the condensate drain line quarterly with a 50/50 vinegar and water solution to prevent mold, leaks, and water backup inside the unit.
- Inspect and clean the outdoor condenser unit quarterly by removing debris, checking refrigerant line insulation, and ensuring fins aren’t bent or damaged—never use a pressure washer.
- Schedule annual professional servicing ($150-$300) to check refrigerant levels, test electrical connections, and maintain warranty coverage, catching problems before they become emergencies.
Why Regular Maintenance Matters for Ductless Systems
Ductless air conditioners work by transferring heat between an indoor wall-mounted unit and an outdoor condenser. Both components accumulate dust, debris, and buildup over time, which blocks airflow and forces the system to work harder. This leads to longer run times, higher electricity consumption, and premature wear on the compressor, the most expensive part to replace.
Regular maintenance keeps the system’s coils clean, refrigerant levels correct, and airflow unrestricted. A well-maintained ductless unit runs 10-15% more efficiently than a neglected one, which directly lowers your cooling costs. You’ll also avoid mid-summer breakdowns when temperatures spike and technicians are booked solid. Beyond comfort, proper upkeep extends the unit’s lifespan from the typical 15-20 years closer to 20+ years, protecting your investment.
How to Clean and Replace Air Filters
Most ductless indoor units have reusable or disposable air filters located behind the front panel or in a slide-out compartment. Check your unit’s manual for the exact location and filter type, usually a thin accordion-style mesh rated in MERV (Minimum Efficiency Reporting Value) between 4 and 12.
Monthly inspection: Pull out the filter and hold it to light. If you see dust buildup but no tears or damage, you can vacuum it gently with a soft brush attachment or rinse it with cool water and let it dry completely before reinserting. Never use hot water or force water pressure, as this damages the pleats. If the filter looks clogged, torn, or heavily soiled, replace it, reusable filters typically last 3-5 years with proper care.
Disposable filters need replacement every 1-3 months depending on usage and indoor air quality. A home with pets, smokers, or construction dust nearby will clog filters faster. Always note the filter’s airflow direction (usually indicated by an arrow) before reinstalling. Backward installation restricts airflow and ruins efficiency.
Inspecting and Maintaining Indoor and Outdoor Units
Indoor Unit Care
The indoor wall unit collects dust on its intake vents and interior surfaces. Every two weeks, wipe down the front panel and intake grills with a soft, dry cloth or slightly damp microfiber cloth. Don’t spray water directly into the unit.
Twice a year, check the condensate drain line, a small plastic tube that runs from the unit to the outside or to a floor drain. This line removes moisture during operation, and if it clogs, water backs up inside the unit, potentially causing mold or leaks. Flush the drain gently with a turkey baster filled with a 50/50 mix of water and white vinegar. If water doesn’t flow, use a thin straightened wire or plumbing snake to clear the blockage carefully. Prevention beats repair: once a quarter, run a little vinegar solution through to keep the line clear.
Inspect the area around the indoor unit for cracks or gaps in the wall seal where the refrigerant lines pass through. Daylight and air leaks here reduce efficiency. Seal gaps with weather stripping or caulk as needed.
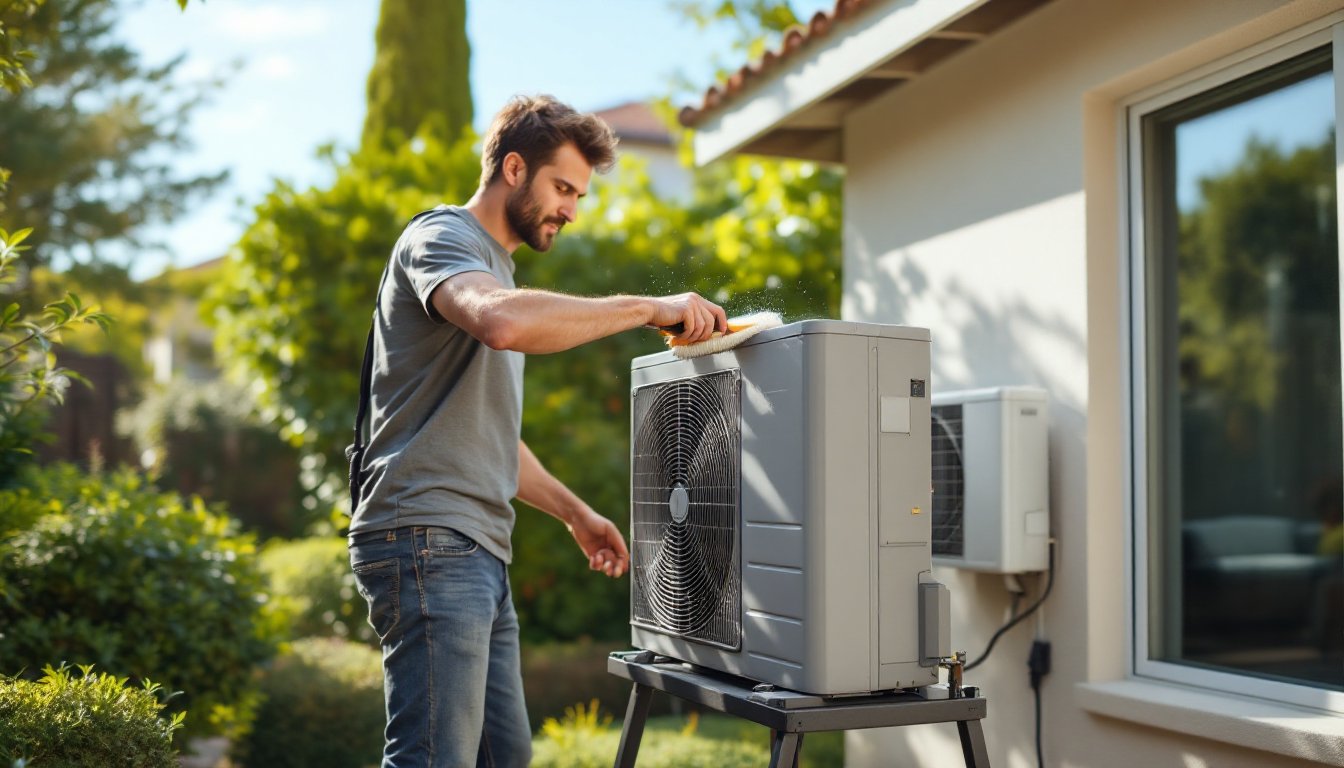
Outdoor Condenser Maintenance
The outdoor condenser unit takes the brunt of weather exposure and needs attention each season. Before any work, ensure the system is powered off at the breaker.
Quarterly cleaning prevents dirt and pollen from choking the coils. Use a soft brush or the brush attachment on a shop vacuum to remove leaves, grass clippings, and debris from the condenser fins. If buildup is heavy, you can gently spray with a hose from a distance, but never use a pressure washer, the high-pressure jet bends fins and damages coils. Always spray from top to bottom and allow the unit to air-dry before restarting.
Check the refrigerant lines (copper tubing) running between indoor and outdoor units for visible damage, kinks, or loose insulation. The lines should be wrapped in foam insulation to maintain temperature and prevent condensation. If insulation is cracked, crumbling, or missing, replace it with compatible foam tubing (typically 3/8″ or 5/8″ inner diameter, depending on your system). This is a cheap fix that prevents serious efficiency loss.
Ensure the outdoor unit sits on a level, stable pad or stand. Tilting units can cause refrigerant pooling and poor operation. After winter, clear away snow and ice that may have accumulated. In spring and fall, check for bent condenser fins, small dents don’t matter, but major damage warrants professional attention.
At minimum, detailed maintenance checklists outline tasks to perform monthly, quarterly, and annually.
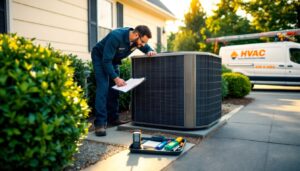
Professional Servicing: When to Call an Expert
Some jobs require licensed HVAC technicians. Know the boundary between DIY maintenance and professional work.
Call a pro if:
- The system stops cooling or heating without obvious cause (low refrigerant, compressor failure, or control board issues).
- You smell strange odors (burnt wiring, mold, or refrigerant leaks smell faintly sweet).
- You see ice buildup on the outdoor coils or indoor unit in cooling mode, a sign of low refrigerant or airflow restriction that self-troubleshooting won’t fix.
- You notice refrigerant leaks (oily spots on copper lines, hissing sounds, or frost on connections).
- The condenser fan won’t spin or makes grinding noises.
- You want a refrigerant charge or vacuum/pressure test, these require EPA certification and gauges.
Annual professional service is ideal. A technician checks refrigerant levels, cleans internal coils on both units, tests electrical connections, and inspects the compressor. This costs $150-$300 depending on your region and system complexity, but it catches problems early and maintains warranty coverage. Many manufacturers require annual service to honor warranties. HomeAdvisor and similar platforms help you find licensed technicians and compare pricing in your area.
Front-load maintenance now, and you’ll avoid emergency calls when your system fails in peak summer heat.
Seasonal Maintenance Checklist for Year-Round Performance
Following a seasonal routine keeps your ductless unit in top shape and prevents surprises.
Spring (cooling season prep):
- Inspect and clean or replace the indoor filter.
- Wipe down indoor and outdoor unit exteriors.
- Check the outdoor condenser for winter debris (leaves, twigs, dirt).
- Flush the condensate drain with vinegar solution.
- Clear vegetation or obstructions 2-3 feet around the outdoor unit.
- Test the system on cooling mode for 15 minutes to confirm operation.
Summer (peak cooling):
- Check the filter every 2-4 weeks if running daily.
- Keep the outdoor unit clear of grass clippings and pollen.
- Ensure indoor unit intake vents aren’t blocked by furniture or curtains.
- Monitor for unusual noises, leaks, or reduced airflow.
Fall (heating season prep):
- Replace or clean the filter before switching to heating mode.
- Inspect refrigerant lines and insulation for damage.
- Check condenser coils and fins for debris.
- Test heating mode briefly to confirm it engages properly.
Winter (heating season and dormancy):
- Monitor the filter monthly if heating is used frequently.
- Clear snow and ice from the outdoor unit after storms.
- Keep the area around the outdoor unit free of ice dams or drifts that block airflow.
- If your unit has a defrost mode, listen for the outdoor fan stopping periodically (normal behavior during heating in cold, humid conditions).
Today’s Homeowner offers seasonal guides for broader home maintenance planning that complements HVAC upkeep. Consistency beats last-minute cramming: spend 30 minutes every few weeks on simple tasks, and you’ll sleep soundly knowing your system is ready when you need it.