A whole house water filtration system protects your family’s health, extends the life of appliances, and improves water quality throughout your home. But like any system, it only works well if you maintain it properly. Many homeowners install a quality filter and then forget about it, a costly mistake that leads to reduced water pressure, sediment buildup, and eventual system failure. The good news is that maintaining your water filtration system isn’t complicated or expensive. With a few basic tasks and a clear maintenance schedule, you can keep your system running efficiently for years to come.
Table of Contents
ToggleKey Takeaways
- Regular maintenance of a whole house water filtration system prevents costly repairs by keeping filters unclogged and water pressure consistent, with sediment filter replacements costing just $20–$50 versus $500+ for professional service calls.
- Sediment filters need replacement every 3–6 months for well water or 6–12 months for municipal water, while carbon filters last 6–12 months and should be replaced when chlorine odor returns.
- Check pressure gauges monthly to catch filter clogs early—a drop of more than 10–15 psi below baseline signals it’s time to replace filters and prevent water quality decline.
- When replacing any filter in your whole house water filtration system, turn off the water supply, hand-tighten the housing cap carefully to avoid damaging the gasket, and flush air by running water for 2–3 minutes.
- Inspect for leaks around the tank base quarterly and replace inexpensive gaskets ($5–$15) promptly to prevent water damage and system failure.
- Keep a maintenance log documenting filter replacement dates and issues to track patterns and avoid unnecessary repeat work or professional service calls.
Why Regular Maintenance Matters for Your Water Filtration System
Without routine maintenance, even the best water filtration system will underperform. Filters clog with sediment, minerals, and contaminants, reducing water pressure and allowing harmful particles to slip through. Over time, a neglected system can damage downstream fixtures, washing machines, water heaters, and refrigerator ice makers all suffer when filters aren’t replaced on schedule.
Regular maintenance does three things: it keeps water pressure consistent, it extends filter lifespan by preventing excessive strain, and it maintains the system’s actual filtering effectiveness. Think of it like changing your car’s air filter, ignore it long enough, and your engine works harder and performs worse.
The cost of staying ahead is minimal. A typical sediment filter replacement runs $20–$50, and specialty filters cost $40–$150 depending on type. Ignoring maintenance often means a $500+ professional service call or even full system replacement. A few minutes of attention every few months is worth the peace of mind and savings.
Understanding Your System: Filter Types and Replacement Schedules
Most whole house filtration systems use a multi-stage approach, with each filter addressing specific contaminants. Understanding what you have is the first step to proper maintenance.
Sediment Filters and Pre-Filters
Sediment (or pre-filters) catch sand, silt, rust, and larger particles before they reach deeper filter stages. These typically use pleated polypropylene or spun media and are usually the first stage in any multi-stage system. Sediment filters should be checked monthly for visible clogging, hold one up to light and look for discoloration or restricted flow.
Replacement timing depends on your water quality. If you have well water or notice visible sediment in tap water after standing overnight, expect replacement every 3–6 months. Municipal water users with cleaner supplies might stretch to 6–12 months. Some systems include pressure gauges that tell you when filters are saturated: if yours does, replace when pressure drops 10–15 psi below baseline.
Carbon and Specialty Filters
Activated carbon filters remove chlorine, odors, and some chemical contaminants. Specialty filters, like ion-exchange for hardness or KDF-55 for hydrogen sulfide, target specific water problems. Carbon filters typically last 6–12 months depending on water volume and contaminant load. If your water suddenly smells like chlorine again, it’s time to replace.
These filters are more expensive but essential if your water supply contains chlorine or specific contaminants. Resources like The Complete Guide to Residential Water Systems & Equipment detail what each filter type handles, so you know exactly what you’re replacing and why. Never skip these stages, they do the heavy lifting for water quality.
Step-by-Step Maintenance Tasks Every Homeowner Should Know
Most maintenance requires no special tools, just your system’s documentation and a few common items. Before starting any work, shut off the main water supply or the isolation valve on the filtration unit.
1. Check Pressure Gauges Monthly
If your system has inlet and outlet pressure gauges, note the baseline reading (should be listed in your manual). A difference of more than 10–15 psi indicates clogged filters. Record readings in a notebook or phone reminder so you catch problems early. Pressure creep is your early warning system.
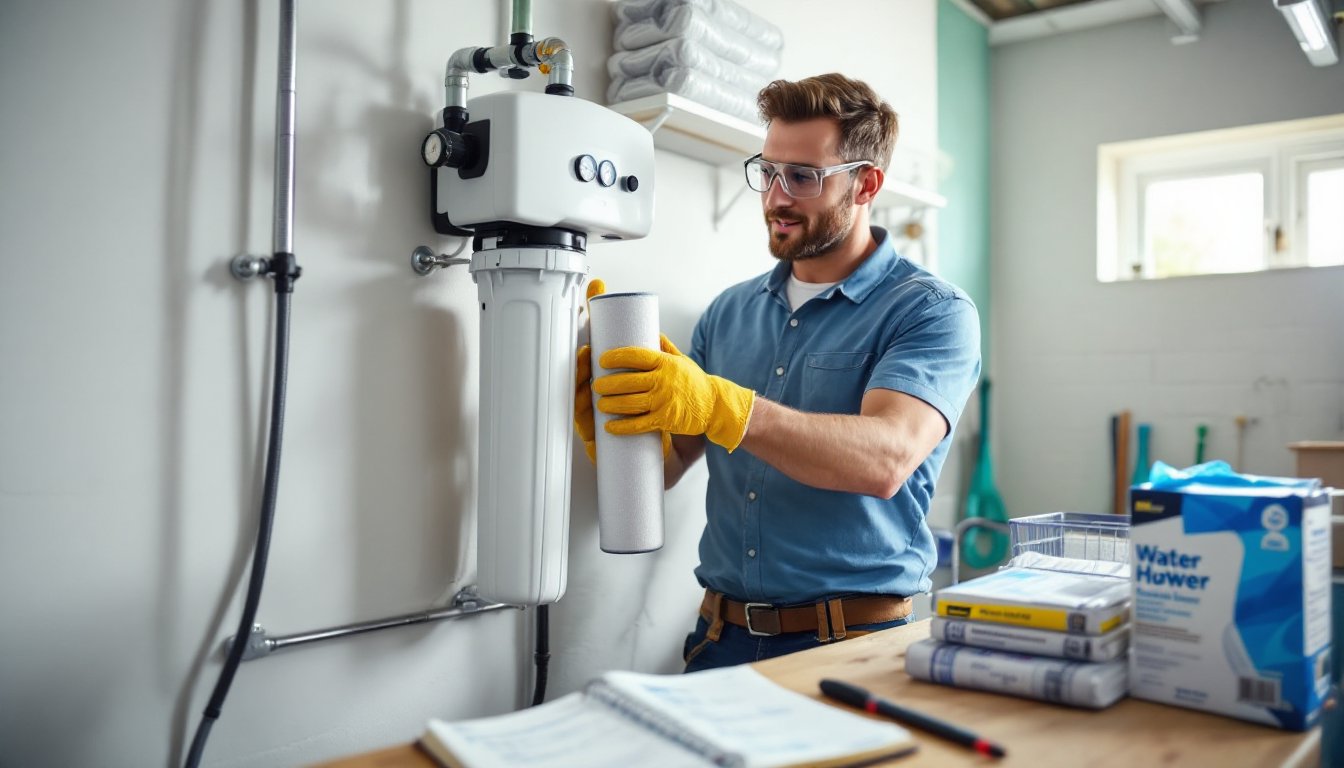
2. Replace Sediment Filters on Schedule
Turn off water supply. Locate the housing (usually a large canister below the main tank). Use a filter wrench or strap wrench to loosen the housing cap, hand-tight works fine, no need to over-torque. Remove the old filter and dispose of it: don’t try to clean and reuse single-stage sediment filters.
Rinse the housing interior with clean water to remove loose sediment. Install the new filter, ensuring the rubber gasket seats properly on the cap. Hand-tighten the cap until the gasket contacts, then turn an additional 1–2 turns. Over-tightening can warp the gasket and cause leaks.
3. Replace Carbon and Specialty Filters
The process mirrors sediment filter replacement. But, carbon and specialty filters often need a system restart. After installing, open the nearest tap and let water run until it clears (usually 2–3 minutes). This flushes air from the housing and prevents pressure surges. Some systems have a bypass valve you should switch back to normal flow mode, check your manual.
4. Monitor Water Pressure and Flow
After any replacement, run water for several minutes and note pressure at a nearby faucet. If pressure remains low, check that bypass valves are in normal position and the housing cap is seated correctly. Leaks around the cap usually mean the gasket needs repositioning or the cap needs slight additional tightening.
5. Inspect for Leaks Quarterly
Water pooling around the tank base or housing indicates a failing gasket or cap seal. Turn off water, let the system drain (some systems have a drain plug), and reseat the cap. If leaking persists, replace the gasket, they’re inexpensive ($5–$15) and prevent costly water damage.
6. Flush or Backwash (If Your System Has a Tank)
If you own a tank-style filter with a backwash valve, run a backwash cycle monthly. Turn the multiport valve to “backwash,” turn on water, and run for 2–3 minutes until discharge water runs clear. This reverses water through the tank to dislodge trapped sediment. Switch back to “normal” mode, then do a 1-minute rinse cycle before resuming regular operation. Skip this step only if your system uses cartridge-only filters.
7. Document Everything
Keep a log of replacement dates, filter types installed, and any issues. This prevents duplicating work, helps you spot patterns (like filters clogging faster than expected), and is invaluable if you hire a pro for service. Most homeowners consult resources like Family Handyman for specific system instructions, your system’s brand website or manual is your best reference.
Safety Notes:
Wear safety glasses when handling pressurized housings, as water can spray during cap removal. If you discover structural leaks, cracks in the tank, or corrosion you can’t address, stop and call a licensed plumber. Many localities require permitting for major water system work, so confirm your obligations before starting.
When to Call a Professional:
If pressure doesn’t return to normal after filter replacement, if you notice discolored or foul-smelling water after a filter change, or if the system leaks persistently, don’t guess, contact a plumber. Attempting to fix internal issues without training can damage seals or create cross-contamination. According to home service reviews and cost guides, a professional filter service runs $150–$300, less than the cost of water damage or buying a new system.
Conclusion
A whole house water filtration system is an investment in your family’s health and your home’s longevity. Maintenance isn’t mysterious or time-consuming, it’s a few simple checks and filter swaps spread across the year. Stay on top of replacement schedules, monitor pressure gauges, and don’t skip prep work like draining the system before opening housings. Your water quality and your wallet will thank you.